

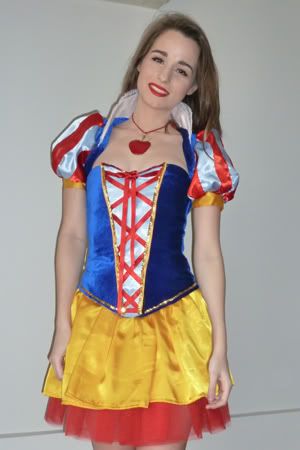
Hey guys! Carnival has finally arrived! It is (without a doubt) my favourite fiesta of the year. I actually use to take my fancy dress project so seriously. My Carnival DIY has become my personal annual tradition! This Snow White fancy dress is probably the biggest DIY I've ever worked on, at least it's the longest. I even had to do some steps twice, as I wasn't happy with the result. So... I'm dividing this DIY into a few posts so I'll be able to explain it in detail. Despite all the difficulties I went through, it's totally worth it.

What do you need for this?
_ DIY basics: sewing machine, thread (White, yellow, red and navy blue), thimble, pins and needles, measuring tape, fabric scissors, tailor chalck, unpicker, card or paper (to make patterns)
_ Clothes: Corset / bandeau top (optional). Mine is from Asos,
_ Accessories: Headband, apple necklace, over knee socks
_ Fabrics: Red or white tulle, satin (red, yellow, light blue and white ), navy blue velvet, light fusing (optional)
_ Trimmings: Red ribbon, yellow bias (edging), golden and red sequins, lace edging,
_ Others: Rubber band, black Velcro®, hook and eye or buttons (to fasten the petticoat)

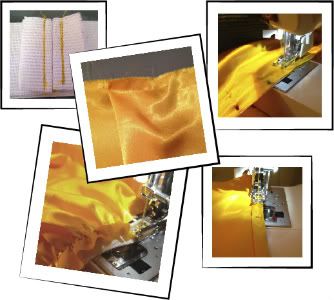
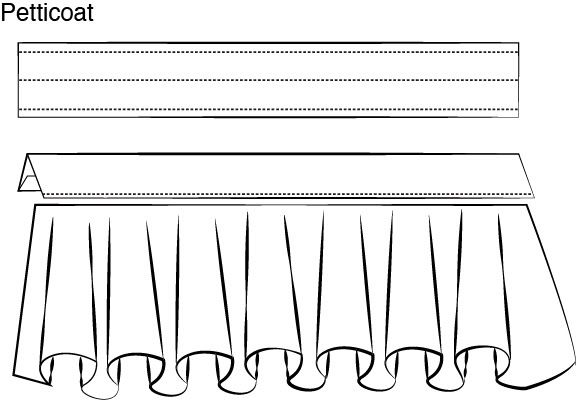
As this is going to be a full skirt, we are going to need a large amount of fabric. Once you have a long rectangle of fabric (follow the drawing above), sew the pleats, the waist and the hem. You'll need to do some pleats, otherwise you'll find it so hard to sew the waist. Then sew the rubber band to the measure of your waist, then stretch the rubber band circle as much as you can and pin it to the skirt. Sew the rubber band stretching it all the time, you may need someone to stretch meanwhile your sewing. If you have any doubt about this, you can watch this video where a guy makes a women's top out of a men shirt. He does exactly the same process.
The petticoat is so easy. For the waist cut a rectangle of fabric (red satin), bend it in half and bend the borders inwards using the iron. Then bend the pleats of the tulle and pin them to the waist. Sew an straight line through the waist and sew two hooks and eyes to fasten it... That's all!!
Here comes the hardest part: the corset. Start marking the tapered edge with tailor chalk and cut it out along that line, don't be afraid!. Then cover it with the blue velvet. I did it with three big pieces of fabric (one for the back and two for the sides of the front). Once you've sewn those three pieces together, bend inwards the bottom and the top and sew them and cut out the spare. Decorate it with sequins, they're great to hide messy stitches. I hand sewed all the sequins but you can save a lot of time using fabric glue.

I didn't like the zip in the middle, so I covered it with a light blue triangle with crossed red ribbon. I finished it off with a yellow bias edging and some sequins. One side is sewed to the corset and the other one opens with velcro.
I'll tell you about the jacket and the accessories in the next post
Have fun and Dare to DIY :)

Inspiration


No comments:
Post a Comment